Whenever I post my code screenshots, people keep asking me about my neovim setup and how I made it look so beautiful. To be honest, it’s not just neovim which makes the screenshot pretty, I’ve also riced my ubuntu desktop and somewhat my terminal(the default ubuntu terminal) to maximise aesthetic pleasure of the eyes.
You can find the code for my neovim config on my github.
To get started with my config as your base config, follow this:
- Clone the github repository of my config:
git clone https://github.com/jitesh117/nvim ~/.config/nvim && nvim
- Run the following command inside neovim in
Normalmode:
:MasonInstallAll
- Enjoy!
When I started using neovim, I wrote my own config in vimscript but didn’t like it much aesthetically. At that time the popular distros like lazyVim and NVChad weren’t present. So I kept my peace with using VSCode with the vim extension.
After a few years I got to know about LazyVim. I installed it on my system(windows at that time). Faced a ton of build issues with neovim due to some GCC error, couldn’t compile telescope properly, which kind of broke my neovim setup and rendered me unable to use it.
Then I decided to switch my OS to Ubuntu. One of the first things I installed was neovim. But this time I didn’t want to write the config from scratch. So decided to go with NVChad. And boy was that decision fruitful!
I won’t go into the details on how to install nvchad and stuff like that, since I think the creator has already done a fabulous job in the docs.
In this post I’d mainly go through the nitty gritties of my config which makes my config mine !
Why I use NvChad?
Before diving into my own customizations, let’s talk a bit about NVChad itself and why I picked it.
NVChad is a Neovim config framework that’s opinionated just enough. You get a sleek UI, built-in support for LSP, Treesitter, Telescope, and a well-organized plugin system — all without locking you into someone else’s workflow. It gives you a solid foundation while encouraging customization. And best of all, it’s modular. You don’t have to rip it apart to add your own plugins or override settings — you just add stuff to your custom folder.
It’s the best of both worlds: the power of Neovim and the polish of a well-maintained ecosystem. If you’re tired of writing every config line from scratch but still want the freedom to tweak things exactly how you like them, NVChad hits the spot.
My neovim Dashboard
This is how the dashboard looks like when I open neovim:
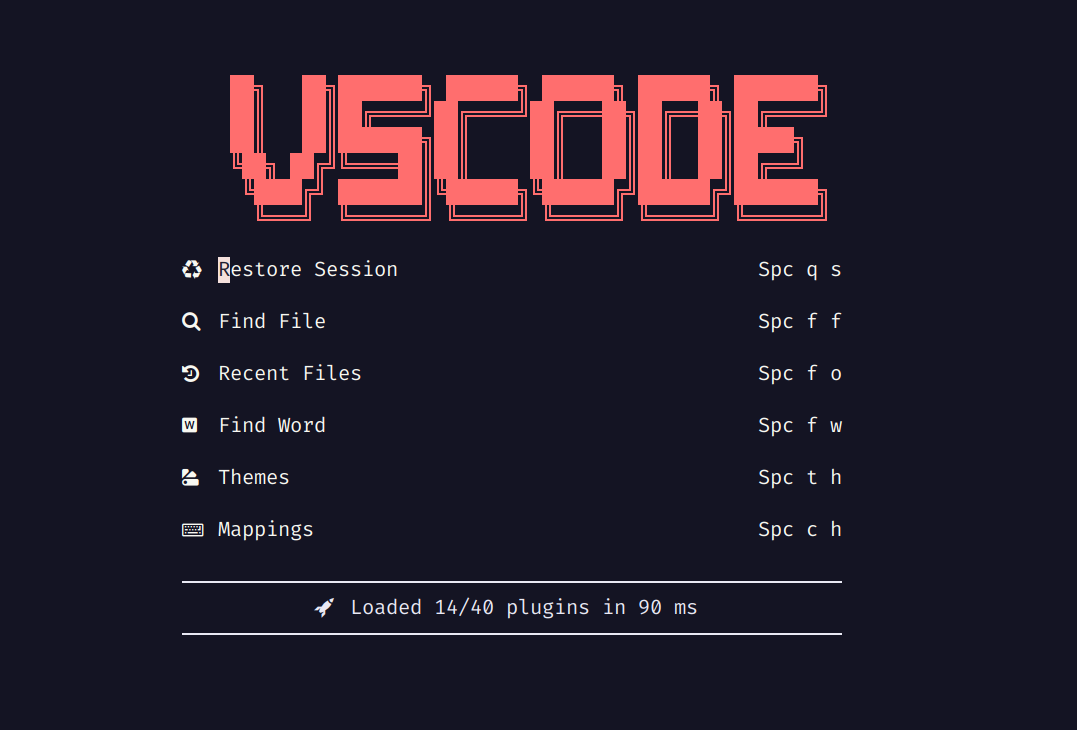
To make it like this, I use a lua table with the art in the base64 options table of nvChad.
This is the lua table:
    header = {
      [[    ██╗   ██╗███████╗ ██████╗ ██████╗ ██████╗ ███████╗ ]],
      [[    ██║   ██║██╔════╝██╔════╝██╔═══██╗██╔══██╗██╔════╝ ]],
      [[    ██║   ██║███████╗██║     ██║   ██║██║  ██║█████╗   ]],
      [[    ╚██╗ ██╔╝╚════██║██║     ██║   ██║██║  ██║██╔══╝   ]],
      [[     ╚████╔╝ ███████║╚██████╗╚██████╔╝██████╔╝███████╗ ]],
      [[      ╚═══╝  ╚══════╝ ╚═════╝ ╚═════╝ ╚═════╝ ╚══════╝ ]],
      [[                                                       ]],
    },
And for adding custom keybindings in the dashboard, I use this code snippet(the symbols might look weird in your browser as I use nerdfont in my terminal which renders these seamlessly):
buttons = {
{
txt = " Restore Session",
keys = "Spc q s",
cmd = 'function() require("persistence").load() end',
},
{ txt = " Find File", keys = "Spc f f", cmd = "Telescope find_files" },
{ txt = " Recent Files", keys = "Spc f o", cmd = "Telescope oldfiles" },
{ txt = " Find Word", keys = "Spc f w", cmd = "Telescope live_grep" },
{ txt = " Themes", keys = "Spc t h", cmd = "Telescope themes" },
{ txt = " Mappings", keys = "Spc c h", cmd = "NvCheatsheet" },
{ txt = "─", hl = "NvDashLazy", no_gap = true, rep = true },
{
txt = function()
local stats = require("lazy").stats()
local ms = math.floor(stats.startuptime) .. " ms"
return " Loaded " .. stats.loaded .. "/" .. stats.count .. " plugins in " .. ms
end,
hl = "NvDashLazy",
no_gap = true,
},
{ txt = "─", hl = "NvDashLazy", no_gap = true, rep = true },
},
Although the base NvChad config in itself is pretty good, I’ve installed some other plugins to streamline my workflow. You can use also use these by adding it in your lua/plugins/init.lua file. Some of which are:
vim-tmux-navigator
return {
  "christoomey/vim-tmux-navigator",
  lazy = false,
}
And for making it as intuitive for me as possible, I’ve added these keybindings to function exactly as I want:
map("n", "<C-h>", "<cmd> TmuxNavigateLeft<CR>", { desc = "TMUX window left" })
map("n", "<C-l>", "<cmd> TmuxNavigateRight<CR>", { desc = "TMUX window right" })
map("n", "<C-j>", "<cmd> TmuxNavigateDown<CR>", { desc = "TMUX window down" })
map("n", "<C-k>", "<cmd> TmuxNavigateUp<CR>", { desc = "TMUX window up" })
leetcode.nvim
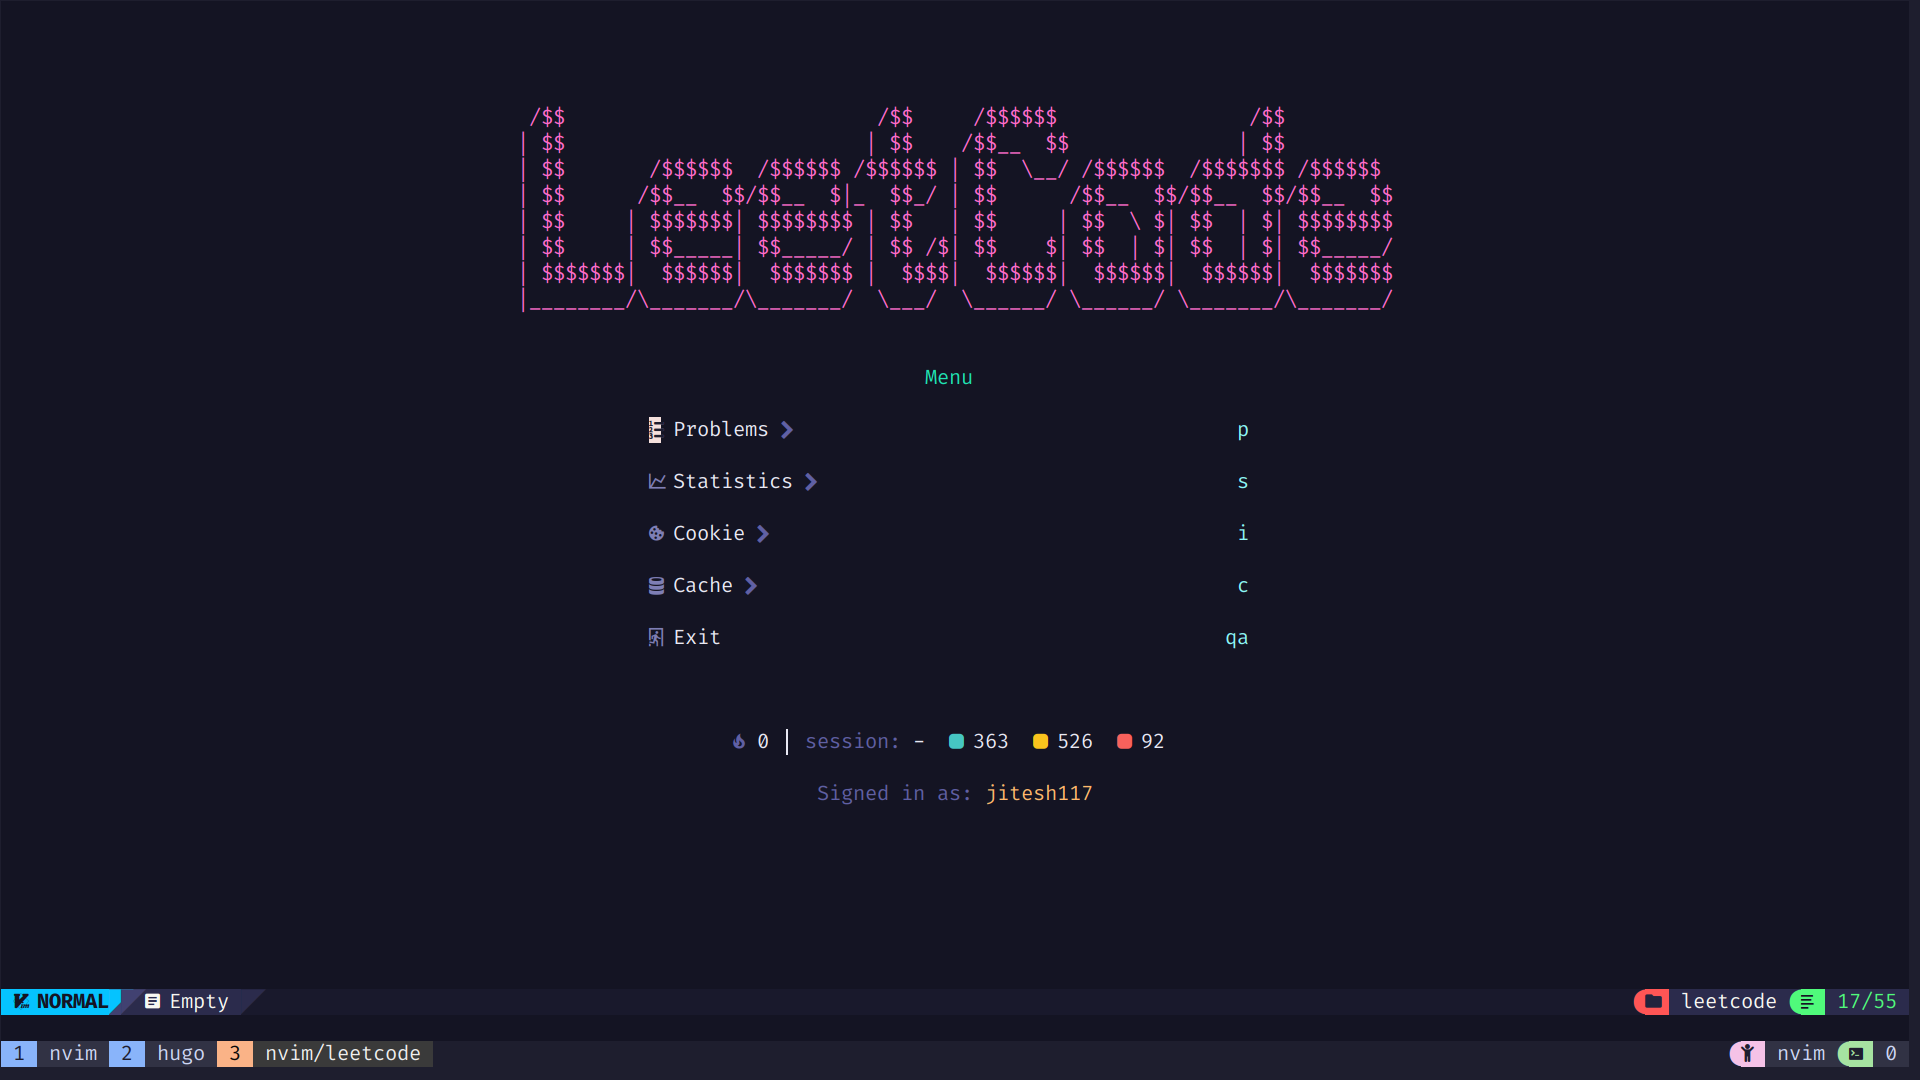
return {
  "kawre/leetcode.nvim",
  build = ":TSUpdate html",
  lazy = false,
  dependencies = {
    "nvim-telescope/telescope.nvim",
    "nvim-lua/plenary.nvim", -- required by telescope
    "MunifTanjim/nui.nvim",

    -- optional
    "nvim-treesitter/nvim-treesitter",
    "rcarriga/nvim-notify",
    "nvim-tree/nvim-web-devicons",
  },
  opts = {
    -- configuration goes here
    injector = {
      ["cpp"] = {
        before = { "#include <bits/stdc++.h>", "using namespace std;" },
        -- after = "int main() {}",
      },
    },
  },
}
And to use this plugin, these are my go to keybindings
map("n", "<leader>lr", "<cmd>Leet run<CR>", { desc = "LeetCode Run tests" })
map("n", "<leader>ls", "<cmd>Leet submit<CR>", { desc = "LeetCode Submit solution" })
persistence.nvim
This is one of the most important plugin of my config. By this I can go back to my last session instantly whenever I reopen my workspace.
return {
  "folke/persistence.nvim",
  event = "BufReadPre",
  config = function()
    require("persistence").setup {
      dir = vim.fn.expand(vim.fn.stdpath "state" .. "/sessions/"),
      options = { "buffers", "curdir", "tabpages", "winsize" },
    }
  end,
}
And now with the keybindings:
map("n", "<leader>qs", function()
  require("persistence").load()
end, { desc = "Persistence Restore Session" })
map("n", "<leader>ql", function()
  require("persistence").load { last = true }
end, { desc = "Persistence Restore Last Session" })
map("n", "<leader>qd", function()
  require("persistence").stop()
end, { desc = "Persistence Don't Save Current Session" })
wakatime
This is for recording my coding sessions in wakatime.com
Mason packages I can’t live without
These are the mason packages which are installed on a fresh installation of my neovim config.
  mason = {
    pkgs = {
      -- go stuff
      "gopls",
      "gofumpt",
      "golines",
      "goimports",
      "goimports-reviser",
      -- python stuff
      "pyright",
      "black",
      "mypy",
      "ruff",
      "debugpy",
      -- web dev stuff
      "eslint-lsp",
      "prettier",
      "tailwindcss-language-server",
      "typescript-language-server",
      -- markdown
      "marksman",
      -- C/CPP stuff
      "clangd",
      "clang-format",
    },
  },
return { "wakatime/vim-wakatime", lazy = false }
Wrapping Up
That’s pretty much my Neovim setup in a nutshell. NVChad gave me a great starting point, and I just layered on what made sense for my workflow. If you’re into a clean dev environment that’s both powerful and snappy, I think you’ll enjoy this config too.
Feel free to fork it, play with it, and make it your own.
Happy Vimming!