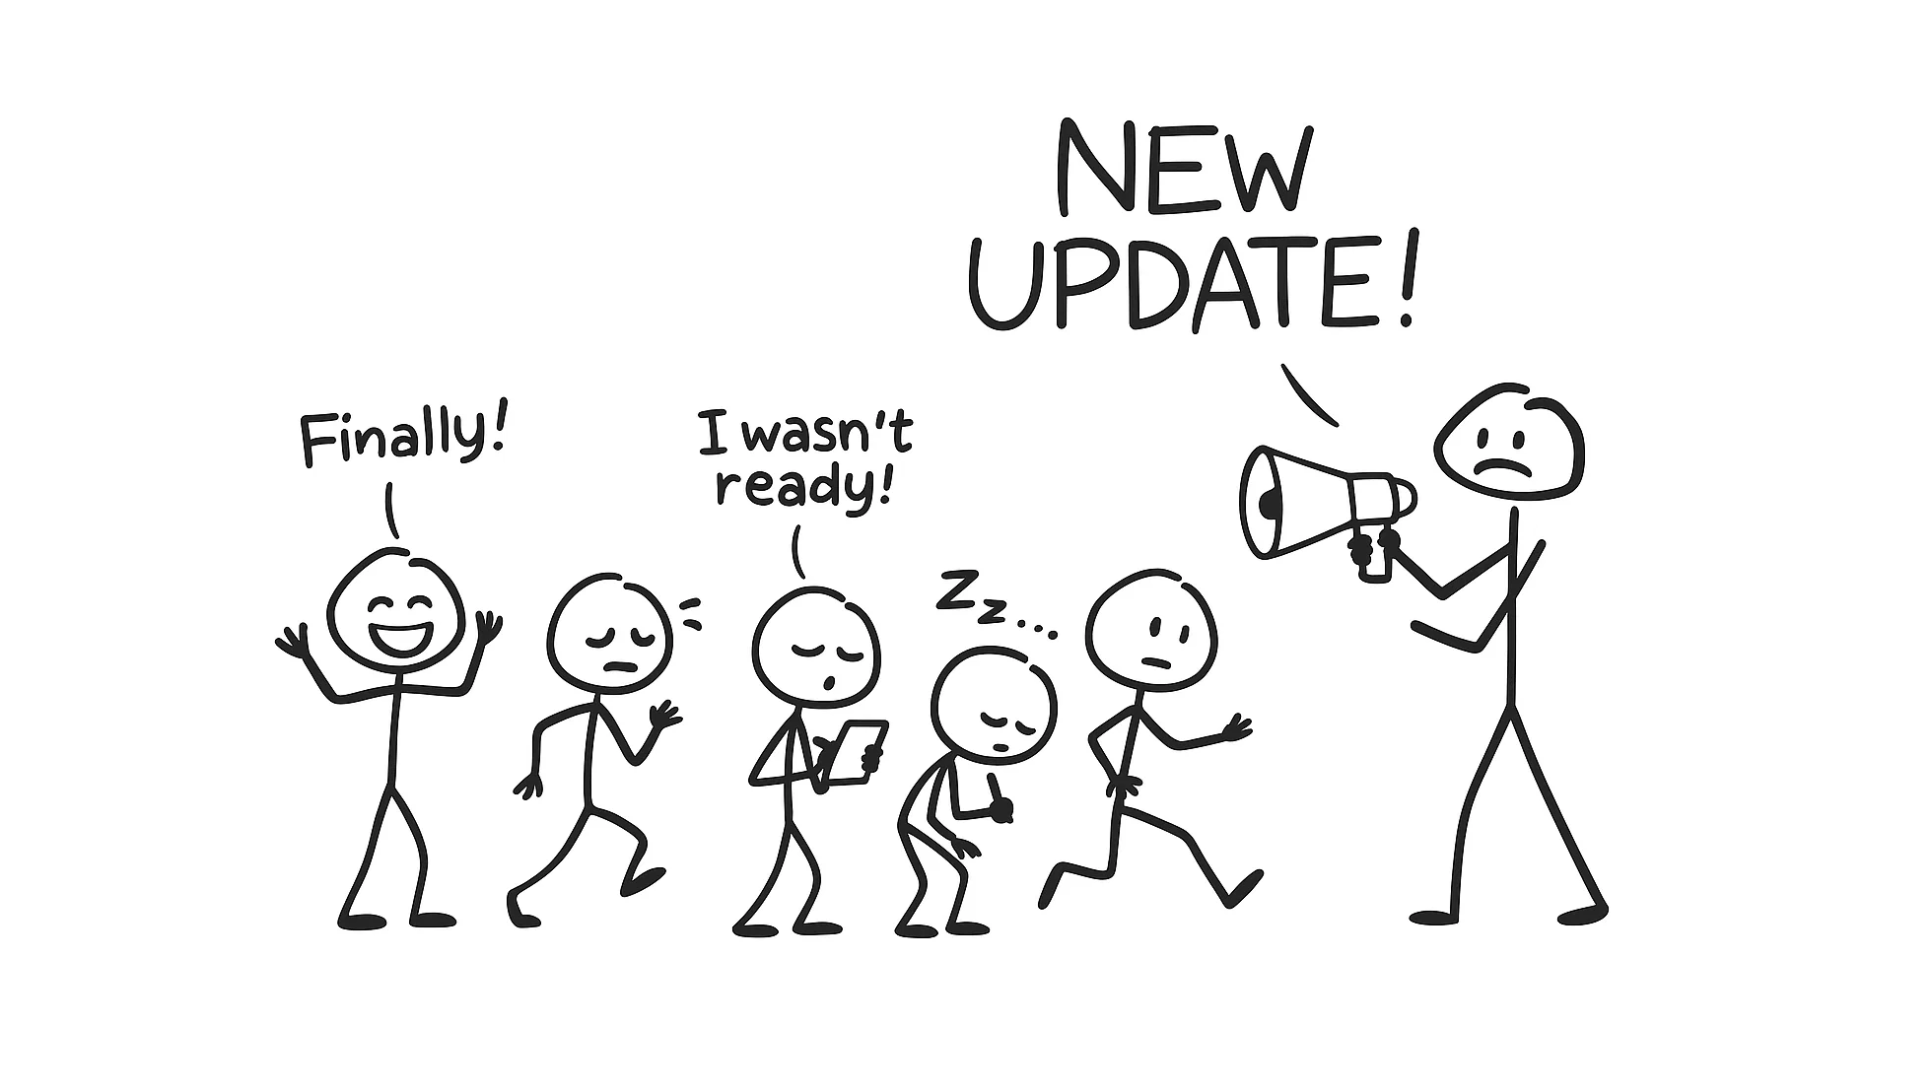
In the last blog post, I wrote about the Creational Design patterns, and I’ll continue that series with Behavioral Design patterns in this post.
Now, we aren’t going to define structures or encapsulate object creation, we will deal with behaviors.
Correct behavior design is the last step after knowing how to deal with object creation and structures. Defining the bheavior correctly is the last step of good software design because good software design lets us improve algorithms and fix errors easily while theb est algorithm implementation will not save use from bad software design.
Strategy Design Pattern
This design pattern basically encapsulates the “strategy” employed while processing the same request. These algorithms are hidden behind an interface and, of course, must be interchangeable. All algos achieve the same functionality in a different way. For exmple, we could have a Sort interface and few sorting algorithms, but the result will be the same, no matter what algo we’re using.
That’s the thing with Strategy Design Pattern.
Let’s take an example of a real-life scenario: Payment processing.
The naive approach: if-else
type PaymentProcessor struct{}

func (p *PaymentProcessor) ProcessPayment(paymentMethod string) {
	switch paymentMethod {
	case "CreditCard":
        // Credit card processing logic
		fmt.Println("Processing credit card payment...")
	case "PayPal":
        // Paypal payment processing logic
		fmt.Println("Processing PayPal payment...")
	case "Crypto":
        //  Crypto payment processing logic
		fmt.Println("Processing crypto payment...")
	default:
		fmt.Println("Payment method not supported.")
	}
}

func main() {
	processor := PaymentProcessor{}
	processor.ProcessPayment("CreditCard")
	processor.ProcessPayment("PayPal")
	processor.ProcessPayment("Crypto")
	processor.ProcessPayment("UPI")
}
How this works
- We have a single method called
ProcessPayment() - Inside the method, we check what type of payment method the user has selected using switch case.
Okay, but what happens when we want to add a new payment method?
Good question, this is where this method gets messy.
func (p *PaymentProcessor) ProcessPayment(paymentMethod string) {
	switch paymentMethod {
	case "CreditCard":
        // Credit card processing logic
		fmt.Println("Processing credit card payment...")
	case "PayPal":
        // Paypal payment processing logic
		fmt.Println("Processing PayPal payment...")
	case "Crypto":
        //  Crypto payment processing logic
		fmt.Println("Processing crypto payment...")
    case "Stripe":
        // Stripe payment processing logic
        fmt.Println("Processing stripe payment...")
	default:
		fmt.Println("Payment method not supported.")
	}
}
Did you catch what’s wrong here?
- Adding new payment methods, means we have to change the existing function, duplicating the same code again.
- As we keep adding new methods, this switch case block becomes harder to write and maintain, and less flexible. Also the readability takes a huge hit.
What’s the solution then?
One thing we could do is, instead of writing the logic inside the case statement, we could use an interface and then just call the interface method inside the case statement, something like this:
// PaymentMethod defines a common interface for all payment types.
type PaymentMethod interface {
	ProcessPayment()
}

// Implementations for each payment method
type CreditCardPayment struct{}

func (c CreditCardPayment) ProcessPayment() {
	fmt.Println("Processing credit card payment...")
}

type PayPalPayment struct{}

func (p PayPalPayment) ProcessPayment() {
	fmt.Println("Processing PayPal payment...")
}

type CryptoPayment struct{}

func (c CryptoPayment) ProcessPayment() {
	fmt.Println("Processing crypto payment...")
}

type StripePayment struct{}

func (s StripePayment) ProcessPayment() {
	fmt.Println("Processing Stripe payment...")
}

// PaymentProcessor handles different payment methods.
type PaymentProcessor struct{}

func (p PaymentProcessor) ProcessPayment(paymentMethod string) {
	var method PaymentMethod

	switch paymentMethod {
	case "CreditCard":
		method = CreditCardPayment{}
	case "PayPal":
		method = PayPalPayment{}
	case "Crypto":
		method = CryptoPayment{}
	case "Stripe":
		method = StripePayment{}
	default:
		fmt.Println("Payment method not supported.")
		return
	}

	method.ProcessPayment()
}

func main() {
	processor := PaymentProcessor{}
	processor.ProcessPayment("CreditCard")
	processor.ProcessPayment("PayPal")
	processor.ProcessPayment("Crypto")
	processor.ProcessPayment("Stripe")
	processor.ProcessPayment("UPI")
}
It’s still not right though
Even though we’ve resolved the readability, it’s still has code duplication and poor maintainability.
Doing it the right way, Strategy Pattern
The first step would be to define a common interface
// PaymentStrategy defines the interface for all payment strategies
type PaymentStrategy interface {
	ProcessPayment()
}

// Concrete strategy for Credit Card payment
type CreditCardPayment struct{}

func (c CreditCardPayment) ProcessPayment() {
	fmt.Println("Processing credit card payment...")
}

// Concrete strategy for PayPal payment
type PayPalPayment struct{}

func (p PayPalPayment) ProcessPayment() {
	fmt.Println("Processing PayPal payment...")
}

// Concrete strategy for Crypto payment
type CryptoPayment struct{}

func (c CryptoPayment) ProcessPayment() {
	fmt.Println("Processing crypto payment...")
}

// Concrete strategy for Stripe payment
type StripePayment struct{}

func (s StripePayment) ProcessPayment() {
	fmt.Println("Processing Stripe payment...")
}

// PaymentProcessor uses a PaymentStrategy to process payments
type PaymentProcessor struct {
	paymentStrategy PaymentStrategy
}

// NewPaymentProcessor is a constructor for PaymentProcessor
func NewPaymentProcessor(strategy PaymentStrategy) *PaymentProcessor {
	return &PaymentProcessor{paymentStrategy: strategy}
}

// ProcessPayment delegates payment processing to the current strategy
func (p *PaymentProcessor) ProcessPayment() {
	p.paymentStrategy.ProcessPayment()
}

// SetPaymentStrategy dynamically changes the payment strategy
func (p *PaymentProcessor) SetPaymentStrategy(strategy PaymentStrategy) {
	p.paymentStrategy = strategy
}

// Example usage
func main() {
	// Create instances of each payment strategy
	creditCard := CreditCardPayment{}
	payPal := PayPalPayment{}
	crypto := CryptoPayment{}
	stripe := StripePayment{}

	// Create a payment processor using the credit card strategy initially
	processor := NewPaymentProcessor(creditCard)
	processor.ProcessPayment() // Processing credit card payment...

	// Dynamically change strategies at runtime
	processor.SetPaymentStrategy(payPal)
	processor.ProcessPayment() // Processing PayPal payment...

	processor.SetPaymentStrategy(crypto)
	processor.ProcessPayment() // Processing crypto payment...

	processor.SetPaymentStrategy(stripe)
	processor.ProcessPayment() // Processing Stripe payment...
}
Iterator Design Pattern
 This design pattern allows us to traverse a collection of objects without exposing the underlying implementation details.
We use this pattern when we want to decouple the way we access elements from the collection’s underlying data structure, allowing us to write cleaner, more maintainable code.
Let’s take the example of a music streaming applicationk, and one of core features of this app is a playlist. Usersw can add songs to their playlists, and they should be able to iterate through their playlist to listen to each song one by one.
There might be different way or orders to a playlist which a user can demand:
- A playlist which has the songs in the order they were added by the user.
- Random shuffled playlist
- “Liked” songs, by particular time period
The naive approach
One way which comes to mind first is, yes you guessed it right, just “iterating” over the list. Here’s how you might do it in golang:
type Playlist struct {
    songs []string
}

// NewPlaylist creates and returns a new empty playlist.
func NewPlaylist() *Playlist {
	return &Playlist{songs: []string{}}
}

func (p *Playlist) AddSong(song string) {
    s.songs = append(s.songs, song)
}

func (p *Playlist) PlayPlaylist() {
    for i := 0; i < len(s.songs); i++ {
        fmt.Println("Playing song: ", s.songs[i])
    }
}
This code looks simple and easy to read. But there’s a huge problem: as we need to add more functionality like shuffle, filters, etc., this code will quickly become hard to maintain. Everytime we want to add a new feature or a way to iterate through the playlist, we’ll need to modify the PlayPlaylist() method.
Let’s say we need to add a shuffle Playlist feature, here’s how we’ll do it using the naive approach:
// Playlist represents a music playlist with songs.
type Playlist struct {
	songs []string
}

// NewPlaylist creates and returns a new empty playlist.
func NewPlaylist() *Playlist {
	return &Playlist{songs: []string{}}
}

// AddSong adds a song to the playlist.
func (p *Playlist) AddSong(song string) {
	p.songs = append(p.songs, song)
}

// PlayPlaylist plays all songs in order or shuffled.
func (p *Playlist) PlayPlaylist(shuffle bool) {
	if len(p.songs) == 0 {
		fmt.Println("Playlist is empty.")
		return
	}

	if shuffle {
		fmt.Println("Shuffling playlist...")
		rand.Seed(time.Now().UnixNano())
		shuffled := make([]string, len(p.songs))
		copy(shuffled, p.songs)
		rand.Shuffle(len(shuffled), func(i, j int) {
			shuffled[i], shuffled[j] = shuffled[j], shuffled[i]
		})

		for _, song := range shuffled {
			fmt.Println("Playing song:", song)
		}
	} else {
		for _, song := range p.songs {
			fmt.Println("Playing song:", song)
		}
	}
}

func main() {
	playlist := NewPlaylist()
	playlist.AddSong("Bohemian Rhapsody")
	playlist.AddSong("Hotel California")
	playlist.AddSong("Stairway to Heaven")

	fmt.Println("Playing in order:")
	playlist.PlayPlaylist(false)

	fmt.Println("\nPlaying shuffled:")
	playlist.PlayPlaylist(true)
}
How Iterator Design pattern solves this
Let’s take a look how we can use the iterator design pattern to tackle this problem:
type PlaylistIterator interface {
    HasNext()
    Next()
}
Now we’ll create three different iterators for different playlist types: Default playlist, Shuffled playlist, Liked Playlist.
type DefaultPlaylistIterator struct {
    playlist Playlist
    index int
}

func NewDefaultPlaylistIterator(playlist Playlist) *DefaultPlaylistIterator {
    return &DefaultPlaylistIterator{playlist: playlist}
}

func (dp *DefaultPlaylistIterator) HasNext() bool {
    return dp.index < len(dp.playlist.songs)
}

func (dp *DefaultPlaylistIterator) Next() string {
    return dp.playlist.songs[dp.index++]
}
Shuffled playlist:
// ShuffledPlaylistIterator iterates over the playlist in random order.
type ShuffledPlaylistIterator struct {
	playlist Playlist
	index    int
	order    []int
}

// NewShuffledPlaylistIterator creates a new shuffled iterator.
func NewShuffledPlaylistIterator(playlist Playlist) *ShuffledPlaylistIterator {
	rand.Seed(time.Now().UnixNano())

	n := len(playlist.songs)
	order := rand.Perm(n) // generates a random permutation of indices

	return &ShuffledPlaylistIterator{
		playlist: playlist,
		order:    order,
		index:    0,
	}
}

func (sp *ShuffledPlaylistIterator) HasNext() bool {
	return sp.index < len(sp.order)
}

func (sp *ShuffledPlaylistIterator) Next() string {
	song := sp.playlist.songs[sp.order[sp.index]]
	sp.index++
	return song
}
Liked Songs iterator:
// LikedPlaylistIterator iterates only over liked songs.
type LikedPlaylistIterator struct {
	playlist Playlist
	index    int
	liked    []string
}

// NewLikedPlaylistIterator creates a new iterator for liked songs only.
func NewLikedPlaylistIterator(playlist Playlist, likedSongs map[string]bool) *LikedPlaylistIterator {
	var liked []string
	for _, song := range playlist.songs {
		if likedSongs[song] {
			liked = append(liked, song)
		}
	}

	return &LikedPlaylistIterator{
		playlist: playlist,
		liked:    liked,
		index:    0,
	}
}

func (lp *LikedPlaylistIterator) HasNext() bool {
	return lp.index < len(lp.liked)
}

func (lp *LikedPlaylistIterator) Next() string {
	song := lp.liked[lp.index]
	lp.index++
	return song
}
Here’s how you would use these iterators in code:
func main() {
	playlist := Playlist{songs: []string{"Bohemian Rhapsody", "Hotel California", "Stairway to Heaven", "Imagine"}}

	// Default iterator
	fmt.Println("Default Playlist:")
	def := NewDefaultPlaylistIterator(playlist)
	for def.HasNext() {
		fmt.Println(def.Next())
	}

	// Shuffled iterator
	fmt.Println("\nShuffled Playlist:")
	shuf := NewShuffledPlaylistIterator(playlist)
	for shuf.HasNext() {
		fmt.Println(shuf.Next())
	}

	// Liked iterator
	fmt.Println("\nLiked Playlist:")
	likedSongs := map[string]bool{"Hotel California": true, "Imagine": true}
	liked := NewLikedPlaylistIterator(playlist, likedSongs)
	for liked.HasNext() {
		fmt.Println(liked.Next())
	}
}
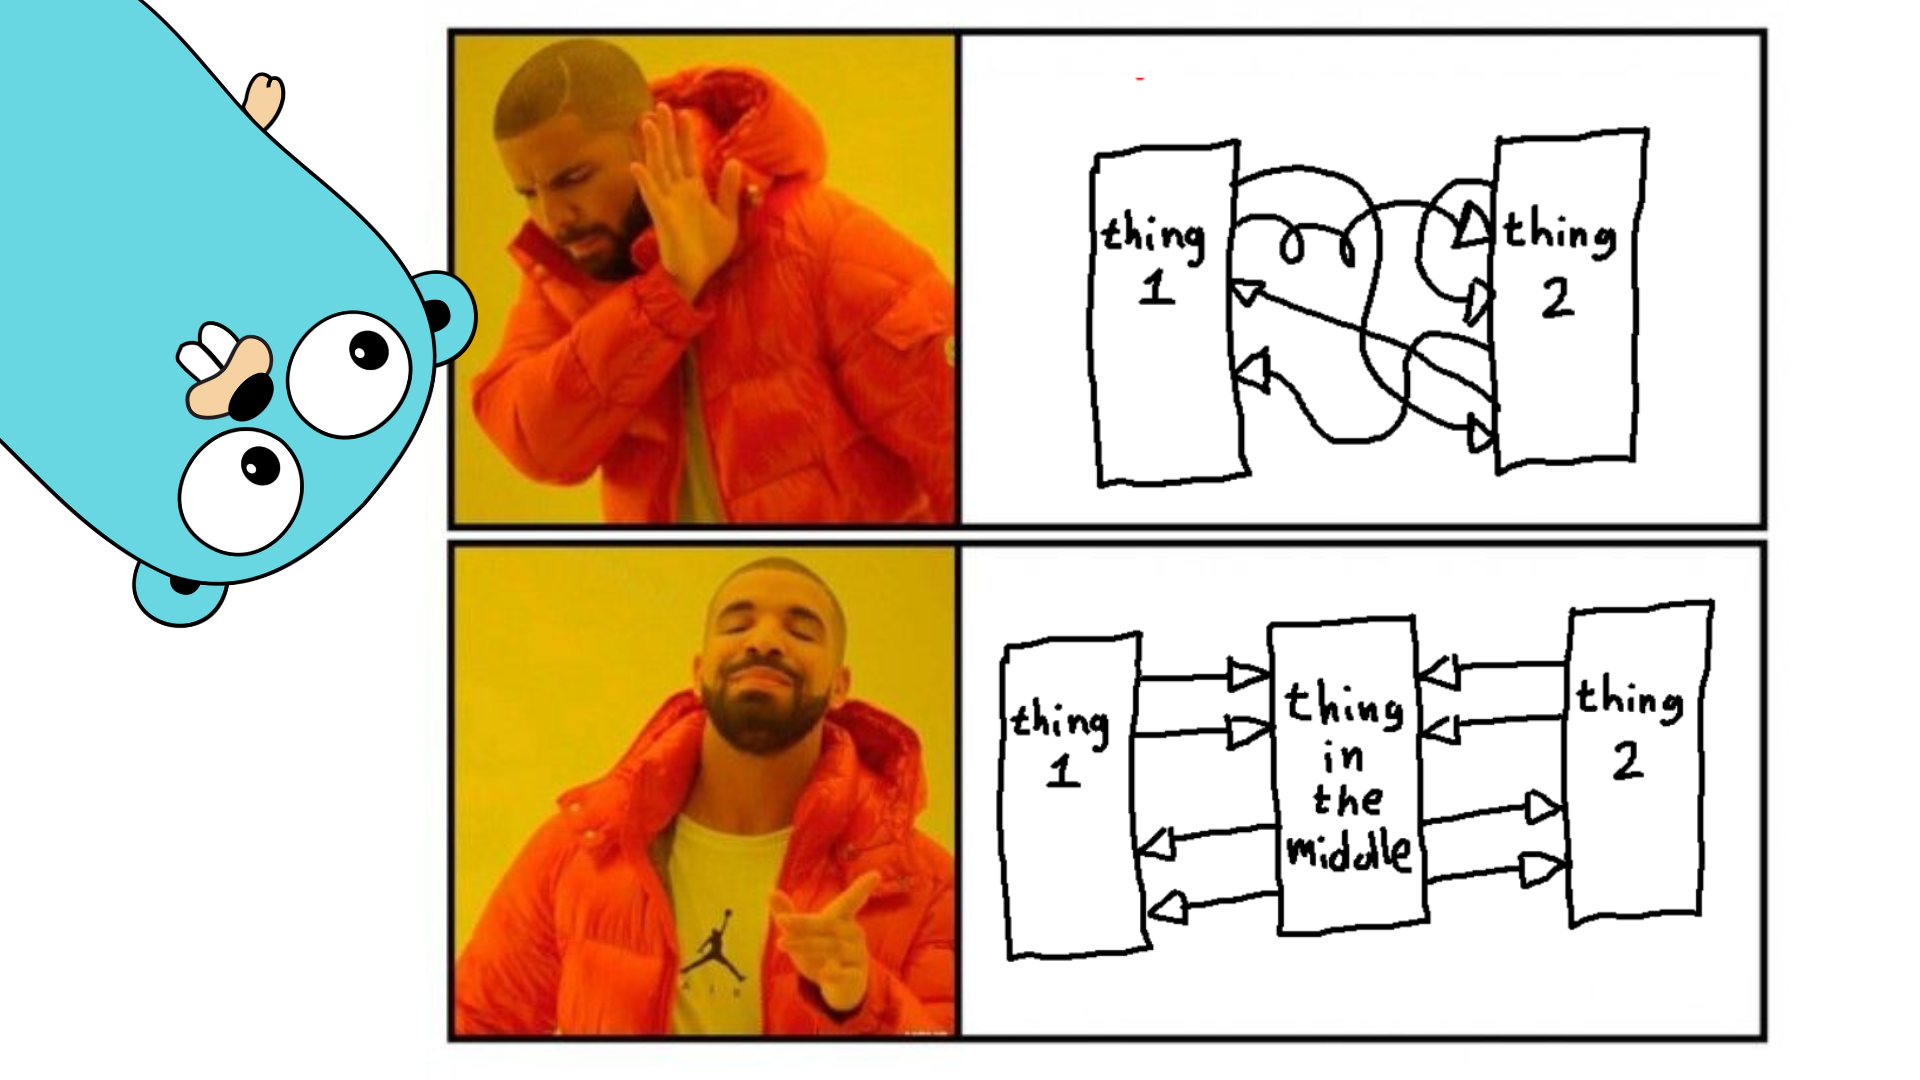
Mediator Design Pattern
One of the key objectives of any design pattern is to avoidi tight coupling between objects. This can be done in many ways, as we have seen already.
One particularly effective method when the application grows a lot is the Mediator pattern. The Mediator pattern is the perfect example of a pattern that is commonly used by every programmer without thinking ver muich about it.
Mediator pattern will act as the type in charge of exchanging communication between two objects. This way, the communicating objects don’t need to know each other and can change mor efreely.
Objectives
- To provide loose coupling between two objects that must communicate between them
- To reduce the amount of dependencies of a particular type to the minimum by passing these needs to the Mediator pattern
Example
Let’s take the example of an auction system to showcase how this design pattern works.
Naive approach
type Bidder struct {
	name string
	bid  int
}

func NewBidder(name string) *Bidder {
	return &Bidder{name: name}
}

func (b *Bidder) PlaceBid(amount int, bidders []*Bidder) {
	b.bid = amount
	fmt.Printf("%s placed a bid: %d\n", b.name, amount)
	for _, other := range bidders {
		if other != b {
			other.ReceiveBid(b, amount)
		}
	}
}

func (b *Bidder) ReceiveBid(bidder *Bidder, amount int) {
	fmt.Printf("%s is notified: %s placed a bid of %d\n", b.name, bidder.name, amount)
}

func main() {
	bidder1 := NewBidder("Alice")
	bidder2 := NewBidder("Bob")
	bidder3 := NewBidder("Charlie")

	bidders := []*Bidder{bidder1, bidder2, bidder3}

	bidder1.PlaceBid(100, bidders)
	bidder2.PlaceBid(150, bidders)
	bidder3.PlaceBid(200, bidders)
}
Did you notice what’s wrong in this? Every single bidder communicates directly with others, making it chaotic and tightly coupled.
Let’s refactor with a mediator that coordinates all communications.
Step 1: Mediator interface
type AuctionMediator interface {
	RegisterBidder(bidder *Bidder)
	PlaceBid(bidder *Bidder, amount int)
}
Step 2: Concrete Mediator: AuctionHouse
type AuctionHouse struct {
	bidders []*Bidder
}

func NewAuctionHouse() *AuctionHouse {
	return &AuctionHouse{bidders: []*Bidder{}}
}

func (a *AuctionHouse) RegisterBidder(bidder *Bidder) {
	a.bidders = append(a.bidders, bidder)
}

func (a *AuctionHouse) PlaceBid(bidder *Bidder, amount int) {
	fmt.Printf("%s placed a bid of %d\n", bidder.GetName(), amount)
	for _, other := range a.bidders {
		if other != bidder {
			other.ReceiveBid(bidder, amount)
		}
	}
}
Step 3: Updated Bidder class(Now it communicatesonly with the Mediator)
type Bidder struct {
	name     string
	mediator AuctionMediator
}

func NewBidder(name string, mediator AuctionMediator) *Bidder {
	return &Bidder{name: name, mediator: mediator}
}

func (b *Bidder) GetName() string {
	return b.name
}

func (b *Bidder) PlaceBid(amount int) {
	b.mediator.PlaceBid(b, amount)
}

func (b *Bidder) ReceiveBid(bidder *Bidder, amount int) {
	fmt.Printf("%s is notified: %s placed a bid of %d\n", b.name, bidder.GetName(), amount)
}
Let’s say we get a new feature request, i.e. to add logging and Bidding timer which enforces a bidding timeline. We don’t want to modify the existing code.
But we can do a simple thing, just extend the existing AuctionHouse class
type ExtendedAuctionHouse struct {
	AuctionHouse
	biddingEndTime int64
}

func NewExtendedAuctionHouse(duration time.Duration) *ExtendedAuctionHouse {
	return &ExtendedAuctionHouse{
		AuctionHouse:   *NewAuctionHouse(),
		biddingEndTime: time.Now().Add(duration).UnixMilli(),
	}
}

func (a *ExtendedAuctionHouse) PlaceBid(bidder *Bidder, amount int) {
	if time.Now().UnixMilli() > a.biddingEndTime {
		fmt.Println("Bidding time is over. No more bids accepted.")
		return
	}

	fmt.Printf("LOG: %s is bidding %d\n", bidder.GetName(), amount)
	a.AuctionHouse.PlaceBid(bidder, amount)
}
Step 5: Demo for Extended Mediator
func main() {
	// Bidding window: 5 seconds
	auctionHouse := NewExtendedAuctionHouse(5 * time.Second)

	bidder1 := NewBidder("Alice", auctionHouse)
	bidder2 := NewBidder("Bob", auctionHouse)
	bidder3 := NewBidder("Charlie", auctionHouse)

	auctionHouse.RegisterBidder(bidder1)
	auctionHouse.RegisterBidder(bidder2)
	auctionHouse.RegisterBidder(bidder3)

	bidder1.PlaceBid(100)
	time.Sleep(2 * time.Second)

	bidder2.PlaceBid(150)
	time.Sleep(4 * time.Second) // exceeds bidding period

	bidder3.PlaceBid(200) // this one should be rejected
}
TLDR;
| Concept | Go Equivalent |
|---|---|
AuctionMediator | Interface defining communication contract |
AuctionHouse | Concrete mediator coordinating bidders |
Bidder | Concrete participant interacting via mediator |
ExtendedAuctionHouse | Extended mediator adding logging & timing logic |
State Design Pattern
 You might have already guessed what this design pattern does, manages the state of an object. Just like a traffic light has different states(red, green, yellow) that determine its behavior, the State Design Pattern allows an object to alter its behavior when its internal state changes.
This pattern encapsulates state-specific behaviors into separate classes, promoting cleaner code anad better organisation.
You might have already guessed what this design pattern does, manages the state of an object. Just like a traffic light has different states(red, green, yellow) that determine its behavior, the State Design Pattern allows an object to alter its behavior when its internal state changes.
This pattern encapsulates state-specific behaviors into separate classes, promoting cleaner code anad better organisation.
Example
Let’s take an example of a trafic light system, without using the State Design Pattern.
type TrafficLight struct {
	color string
}

func NewTrafficLight() *TrafficLight {
	return &TrafficLight{color: "RED"} // start with red
}

func (t *TrafficLight) Next() {
	switch t.color {
	case "RED":
		t.color = "GREEN"
		fmt.Println("Light changed from RED to GREEN. Cars go!")
	case "GREEN":
		t.color = "YELLOW"
		fmt.Println("Light changed from GREEN to YELLOW. Slow down!")
	case "YELLOW":
		t.color = "RED"
		fmt.Println("Light changed from YELLOW to RED. Stop!")
	}
}

func (t *TrafficLight) GetColor() string {
	return t.color
}
In this setup:
- The
TrafficLightstruct manages its state using a simple color string. - The
Next()method uses switch case statements to transition between states.
When things get ugly
Let’s say we decide to add two more states: BLINKING and MAINTENANCE. Our TrafficLight struct starts to get messy with more switch cases.
type TrafficLight struct {
	color string
}

func NewTrafficLight() *TrafficLight {
	return &TrafficLight{color: "RED"}
}

func (t *TrafficLight) Next() {
	switch t.color {
	case "RED":
		t.color = "GREEN"
		fmt.Println("Change to GREEN. Cars go!")
	case "GREEN":
		t.color = "YELLOW"
		fmt.Println("Change to YELLOW. Slow down!")
	case "YELLOW":
		t.color = "RED"
		fmt.Println("Change to RED. Stop!")
	case "BLINKING":
		t.color = "MAINTENANCE"
		fmt.Println("Switching to MAINTENANCE mode...")
	case "MAINTENANCE":
		t.color = "RED"
		fmt.Println("Maintenance done, back to RED!")
	default:
		fmt.Println("Unknown state. Resetting to RED.")
		t.color = "RED"
	}
}

func (t *TrafficLight) GetColor() string {
	return t.color
}
Issues with this naive approach:
- Tight coupling
- Scalabilityy problems
- Maintenance Nightmare
- Violation of Open/Close principles
State design pattern to the rescue
1. State interface
type TrafficLightState interface {
	Next(context *TrafficLightContext)
	GetColor() string
}
2. Adding concrete states
// Concrete State: Red
type RedState struct{}

func (r *RedState) Next(context *TrafficLightContext) {
	fmt.Println("Switching from RED to GREEN. Cars go!")
	context.SetState(&GreenState{})
}

func (r *RedState) GetColor() string {
	return "RED"
}

// Concrete State: Green
type GreenState struct{}

func (g *GreenState) Next(context *TrafficLightContext) {
	fmt.Println("Switching from GREEN to YELLOW. Slow down!")
	context.SetState(&YellowState{})
}

func (g *GreenState) GetColor() string {
	return "GREEN"
}

// Concrete State: Yellow
type YellowState struct{}

func (y *YellowState) Next(context *TrafficLightContext) {
	fmt.Println("Switching from YELLOW to RED. Stop!")
	context.SetState(&RedState{})
}

func (y *YellowState) GetColor() string {
	return "YELLOW"
}
3. Context Class
type TrafficLightContext struct {
	currentState TrafficLightState
}

func NewTrafficLightContext() *TrafficLightContext {
	return &TrafficLightContext{currentState: &RedState{}} // start with RED
}

func (t *TrafficLightContext) SetState(state TrafficLightState) {
	t.currentState = state
}

func (t *TrafficLightContext) Next() {
	t.currentState.Next(t)
}

func (t *TrafficLightContext) GetColor() string {
	return t.currentState.GetColor()
}
Chain of Responsibility Design Pattern
 As its name implies, it consists of a chain and, in our case, each link of the chain follows the single responsiility principle.
This pattern implies that a type, function, method, or any similar abstraction must have one single responsiility only and it must do it quite well. This way, we can apply many functions that achieve one specifict thing each to some struct, slice, map and so on.
But also, we could have a chain of checks and, in case one of them fails, break the chain and return something. This is the authentication and authorization middleware works.
Let’s take the example of the process of leave processing in a corporate hierarchy.
Naive approach
This is how the naive approach would look like:
type LeaveRequestNaive struct {
    leaveDays int
}

func NewLeaveRequest(leaveDays int) &LeaveRequestNaive {
    return &LeaveRequestNaive{leaveDays: leaveDays}
}

func(lr *LeaveRequestNaive) ProcessLeave() {
    if lr.leaveDays <= 3 {
        fmt.Println("Supervisor approved the leave")
    } else if lr.leaveDays <= 7 {
        fmt.Println("Manager approved the leave")
    } else if lr.leaveDays <= 14 {
        fmt.Println("Director approved the leave")
    } else {
        fmt.Println("Leave request denied. Too many days!")
    }
}
You see what’s wrong in this right? Harder to maintain, non-scalable, messy, hard to extend, unreadable when the conditions get more stricter. This is where Chain of Responsibility Design pattern comes in.
// Approver defines the handler interface in the chain
type Approver interface {
	SetNext(Approver)
	ProcessLeaveRequest(leaveDays int)
}
- Concrete handlers
// Base struct that other handlers will embed
type BaseApprover struct {
	next Approver
}

func (b *BaseApprover) SetNext(next Approver) {
	b.next = next
}

// Concrete Handler: Supervisor
type Supervisor struct {
	BaseApprover
}

func (s *Supervisor) ProcessLeaveRequest(leaveDays int) {
	if leaveDays <= 3 {
		fmt.Println("Supervisor approved the leave.")
	} else if s.next != nil {
		s.next.ProcessLeaveRequest(leaveDays)
	}
}

// Concrete Handler: Manager
type Manager struct {
	BaseApprover
}

func (m *Manager) ProcessLeaveRequest(leaveDays int) {
	if leaveDays <= 7 {
		fmt.Println("Manager approved the leave.")
	} else if m.next != nil {
		m.next.ProcessLeaveRequest(leaveDays)
	}
}

// Concrete Handler: Director
type Director struct {
	BaseApprover
}

func (d *Director) ProcessLeaveRequest(leaveDays int) {
	if leaveDays <= 14 {
		fmt.Println("Director approved the leave.")
	} else if d.next != nil {
		d.next.ProcessLeaveRequest(leaveDays)
	} else {
		fmt.Println("Leave request denied. Too many days!")
	}
}
- Setting up the chain
func main() {
	// Create handler instances
	supervisor := &Supervisor{}
	manager := &Manager{}
	director := &Director{}

	// Set up the chain: Supervisor -> Manager -> Director
	supervisor.SetNext(manager)
	manager.SetNext(director)

	// Process a leave request
	leaveDays := 10
	fmt.Printf("Employee requests %d days of leave.\n", leaveDays)
	supervisor.ProcessLeaveRequest(leaveDays)
}
Benefits of Chain responsiility pattern
- Loose coupling between sender and handler
- Enhanced flexibility & scalability
- Improved code organisation & maintainability
- Reusability of Handlers
- Dynamic Request Handling
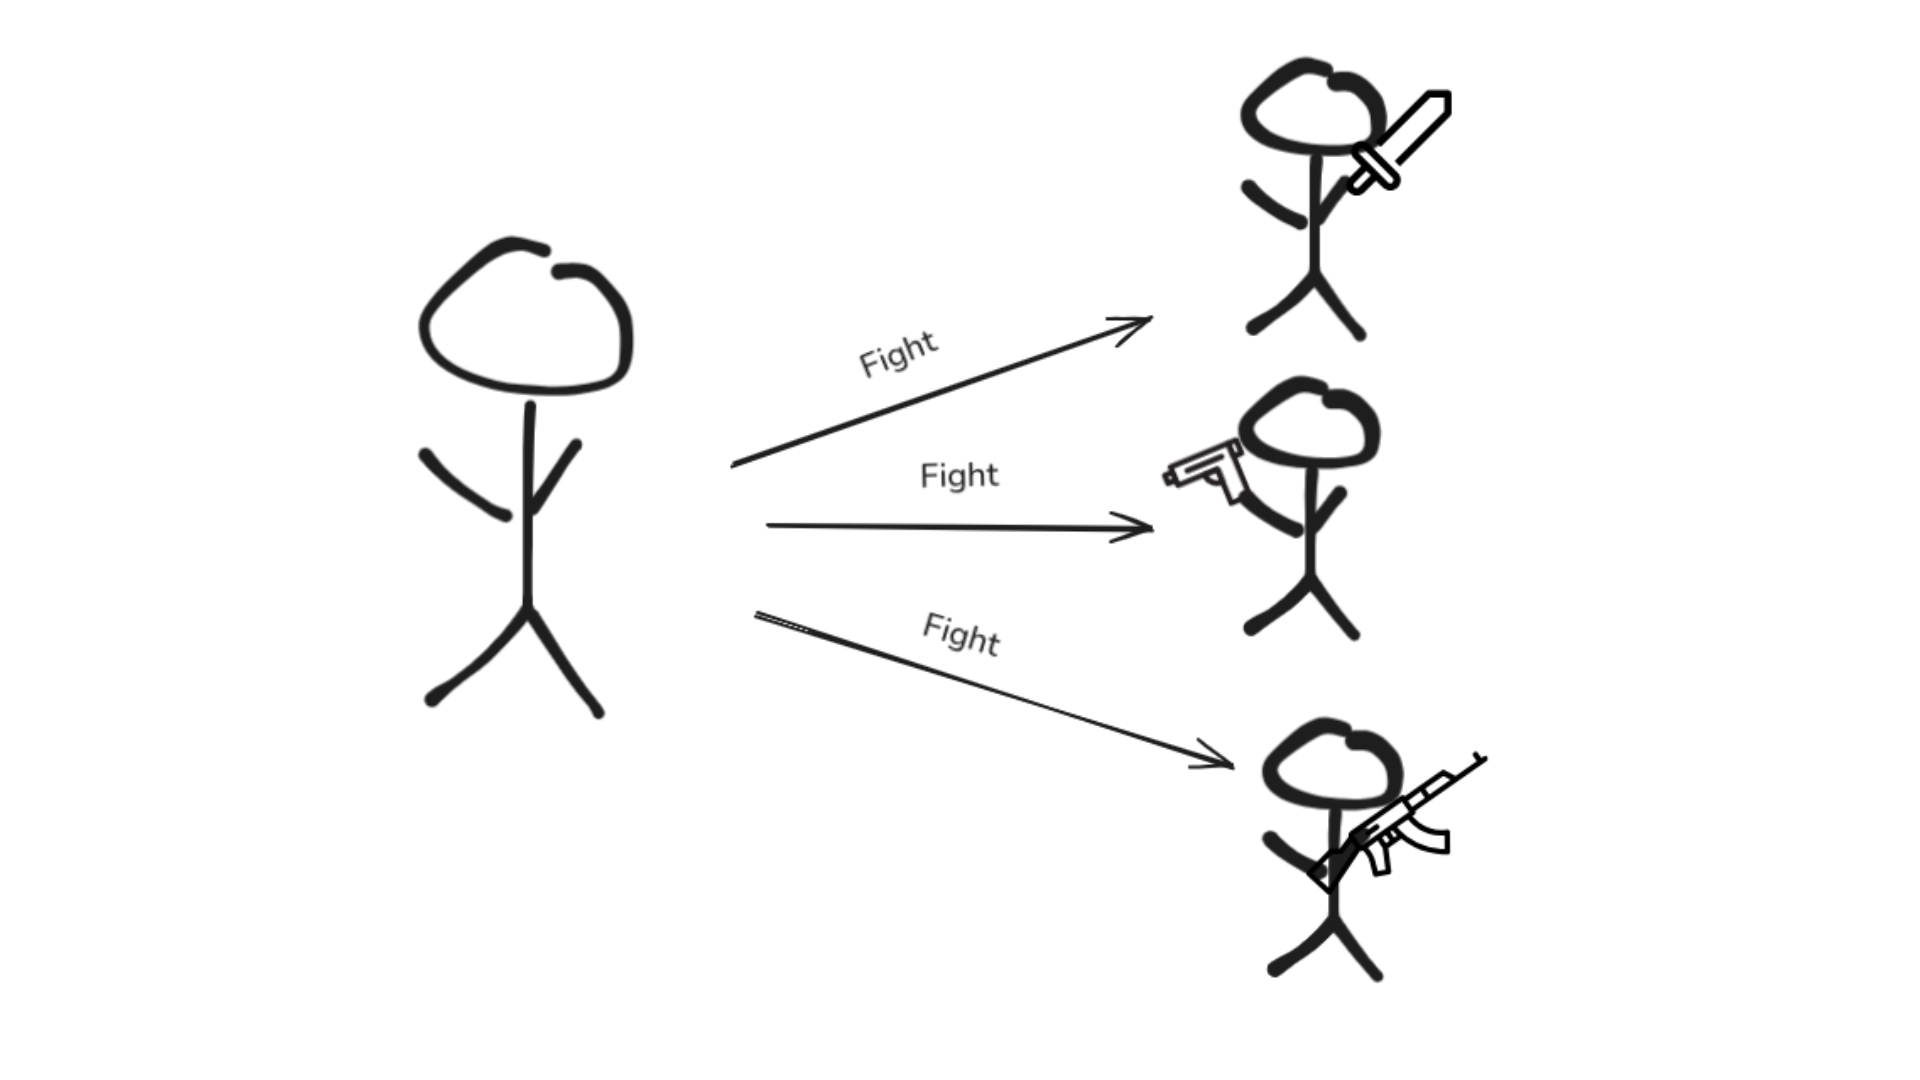
Visitor Design Pattern

Imagine you’re running a hospital. You’ve got child, adult, and senior patients. Every time a doctor or accountant comes in, they perform different operations — diagnosis, billing, etc.
Now here’s the problem: Every time you introduce a new operation (say, insurance claim processing), you have to modify every single patient type. That’s not scalable, and it breaks the Open-Closed Principle — your classes should be open for extension but closed for modification.
This is where the Visitor Design Pattern steps in — allowing you to add new operations without changing the existing structure of your objects.
type ChildPatient struct{}

func (c *ChildPatient) Diagnosis() {
	fmt.Println("Diagnosing a child patient.")
}

func (c *ChildPatient) Billing() {
	fmt.Println("Calculating billing for a child patient.")
}

type AdultPatient struct{}

func (a *AdultPatient) Diagnosis() {
	fmt.Println("Diagnosing an adult patient.")
}

func (a *AdultPatient) Billing() {
	fmt.Println("Calculating billing for an adult patient.")
}

type SeniorPatient struct{}

func (s *SeniorPatient) Diagnosis() {
	fmt.Println("Diagnosing a senior patient.")
}

func (s *SeniorPatient) Billing() {
	fmt.Println("Calculating billing for a senior patient.")
}

func main() {
	// patient could be of any type
	var patient interface{}
	patient = &AdultPatient{} // could also be &ChildPatient{} or &SeniorPatient{}

	// Using type checks (like Java's instanceof)
	switch p := patient.(type) {
	case *ChildPatient:
		p.Diagnosis()
		p.Billing()
	case *AdultPatient:
		p.Diagnosis()
		p.Billing()
	case *SeniorPatient:
		p.Diagnosis()
		p.Billing()
	default:
		fmt.Println("Unknown patient type.")
	}
}
What’s wrong here?
Every time you add a new operation (like “InsuranceClaim”), you must edit each patient type.
You’re relying on a big, ugly switch statement.
Violates Open-Closed Principle — the code is hard to extend.
Let’s fix this with the Visitor pattern.
Step 1: Define the Patient interface
We’ll start by defining two key interfaces:
Patient: represents elements (like child, adult, senior).visitor: represents operations to be performed on them.
type Visitor interface {
	VisitChildPatient(*ChildPatient)
	VisitAdultPatient(*AdultPatient)
	VisitSeniorPatient(*SeniorPatient)
}

type Patient interface {
	Accept(visitor Visitor)
}
Step 2: Concrete Patient Types
Each patient type implements Accept(), which simply calls the right visitor method.
type ChildPatient struct{}

func (c *ChildPatient) Accept(visitor Visitor) {
	visitor.VisitChildPatient(c)
}

type AdultPatient struct{}

func (a *AdultPatient) Accept(visitor Visitor) {
	visitor.VisitAdultPatient(a)
}

type SeniorPatient struct{}

func (s *SeniorPatient) Accept(visitor Visitor) {
	visitor.VisitSeniorPatient(s)
}
This may look small, but it’s powerful. Now, the patients don’t need to know what kind of operation is being performed — they just accept a visitor, and the visitor decides what to do.
Step 3: Define the Visitor Interface
The visitor defines the operations that can be performed on each patient type.
type Visitor interface {
	VisitChildPatient(*ChildPatient)
	VisitAdultPatient(*AdultPatient)
	VisitSeniorPatient(*SeniorPatient)
}
Step 4: Create Concrete Visitors
Now let’s create our first visitor: DiagnosisVisitor, which performs diagnosis for each patient.
type DiagnosisVisitor struct{}

func (d *DiagnosisVisitor) VisitChildPatient(c *ChildPatient) {
	fmt.Println("Diagnosing a child patient: Check-up and pediatric care.")
}

func (d *DiagnosisVisitor) VisitAdultPatient(a *AdultPatient) {
	fmt.Println("Diagnosing an adult patient: Routine exams and lifestyle advice.")
}

func (d *DiagnosisVisitor) VisitSeniorPatient(s *SeniorPatient) {
	fmt.Println("Diagnosing a senior patient: Comprehensive geriatric evaluation.")
}
Billing Visitor
type BillingVisitor struct{}

func (b *BillingVisitor) VisitChildPatient(c *ChildPatient) {
	fmt.Println("Calculating billing for a child patient.")
}

func (b *BillingVisitor) VisitAdultPatient(a *AdultPatient) {
	fmt.Println("Calculating billing for an adult patient.")
}

func (b *BillingVisitor) VisitSeniorPatient(s *SeniorPatient) {
	fmt.Println("Calculating billing for a senior patient.")
}
Stitching it all together
func main() {
	patients := []Patient{
		&ChildPatient{},
		&AdultPatient{},
		&SeniorPatient{},
	}

	diagnosisVisitor := &DiagnosisVisitor{}
	billingVisitor := &BillingVisitor{}

	for _, patient := range patients {
		patient.Accept(diagnosisVisitor)
		patient.Accept(billingVisitor)
	}
}
What Just Happened?
Each Patient knows how to accept a visitor, but doesn’t know what the visitor will do.
Each Visitor defines a specific operation (diagnosis, billing, etc.) for every patient type.
Adding a new operation (say, “InsuranceClaimVisitor”) doesn’t require changing the patient classes — just add a new visitor!
That’s pure elegance — and total separation of concerns.
Memento Design Pattern
The Memento Pattern is like a memory capsule. It lets an object remember its previous state — just like you might save drafts or snapshots before making big changes.
Think of it as your app’s “undo” button — you take a snapshot (a memento) before making changes, and if things go wrong, you can roll back to the previous version.
Example: Text Editor with Edit feature
Imagine a simple text editor. A user types something, edits it, and sometimes — oops — wants to undo the last change.
You could just manually save the text before each change, but that approach quickly becomes messy.
Naive approach
type TextEditorTraditional struct {
	text string
}

func NewTextEditorTraditional(text string) *TextEditorTraditional {
	return &TextEditorTraditional{text: text}
}

func (t *TextEditorTraditional) SetText(newText string) {
	t.text = newText
}

func (t *TextEditorTraditional) Undo(previousState string) {
	t.text = previousState
}

func (t *TextEditorTraditional) ShowText() {
	fmt.Println("Current text:", t.text)
}

func main() {
	editor := NewTextEditorTraditional("Hello")
	editor.ShowText()

	// Manual backup
	backup := editor.text
	editor.SetText("Hello, World!")
	editor.ShowText()

	// Undo using manual backup
	editor.Undo(backup)
	editor.ShowText()
}
What’s wrong here?
You’re manually managing state (bad idea for scalability).
Adding multiple undo levels will quickly lead to cluttered, repetitive logic.
When things go messy
type TextEditorUgly struct {
	text    string
	backup1 string
	backup2 string
}

func (t *TextEditorUgly) SetText(newText string) {
	// Manual backup juggling
	t.backup2 = t.backup1
	t.backup1 = t.text
	t.text = newText
}

func (t *TextEditorUgly) Undo() {
	t.text = t.backup1
}

func (t *TextEditorUgly) ShowText() {
	fmt.Println("Current text:", t.text)
}
How Memento pattern saves the day
The Memento Pattern solves this neatly by separating state storage from business logic.
We’ll break this into three parts:
Originator — The text editor itself.
Memento — A snapshot of the editor’s state.
Caretaker — A history manager that stores past states.
Step 1: The Originator
type TextEditor struct {
	text string
}

func (t *TextEditor) SetText(newText string) {
	t.text = newText
}

func (t *TextEditor) GetText() string {
	return t.text
}

// Save creates a memento (snapshot) of the current state
func (t *TextEditor) Save() *Memento {
	return &Memento{text: t.text}
}

// Restore reverts to a given memento
func (t *TextEditor) Restore(m *Memento) {
	t.text = m.text
}
Step 2: The Memento
type Memento struct {
	text string
}

func (m *Memento) GetText() string {
	return m.text
}
Step 3: History Manager
type Memento struct {
	text string
}

func (m *Memento) GetText() string {
	return m.text
}
Step 4: Stitching it all together
func main() {
	editor := &TextEditor{}
	history := &EditorHistory{}

	editor.SetText("Hello")
	fmt.Println("Current text:", editor.GetText())
	history.Push(editor.Save())

	editor.SetText("Hello, World!")
	fmt.Println("Current text:", editor.GetText())
	history.Push(editor.Save())

	editor.SetText("Hello, World! Welcome to Go Memento Pattern.")
	fmt.Println("Current text:", editor.GetText())

	// Undo once
	prev := history.Pop()
	if prev != nil {
		editor.Restore(prev)
	}
	fmt.Println("After undo:", editor.GetText())

	// Undo again
	prev = history.Pop()
	if prev != nil {
		editor.Restore(prev)
	}
	fmt.Println("After second undo:", editor.GetText())
}
Advantages
- Encapsulated State — Keeps internal state private and safe.
- Simplified Undo/Redo — Perfect for rollback or version control.
- Separation of Concerns — Originator handles logic, Caretaker manages history.
- Easy Recovery — Revert to any previous state effortlessly.
Command Design Pattern
What Problem Does It Solve?
Imagine you’re building a remote control app for a smart home. You have devices like lights, fans, and stereos — each with different actions.
Without the Command Pattern, your controller might directly call device functions like:
light.On()
light.Off()
fan.Start()
fan.Stop()
That works… until it doesn’t.
What if:
- You want to add undo functionality?
- You want to queue commands?
- You want to trigger macros (like “Good Night” turns off everything)?
Your code becomes a tangled mess of conditionals and direct method calls. The Command Pattern cleans this up by decoupling the invoker (remote) from the receiver (devices).
Let’s build our smart home remote system the right way — using the Command Design Pattern.
Step 1: Define the Command Interface
Every command should have a common method — typically Execute() and maybe Undo().
package main

import "fmt"

type Command interface {
	Execute()
	Undo()
}
This allows our remote to handle any command without knowing what it does internally.
Step 2: Create Receiver Classes (Actual Devices)
Let’s create a Light and a Fan to simulate our smart devices.
type Light struct {
	isOn bool
}

func (l *Light) On() {
	l.isOn = true
	fmt.Println("Light is ON")
}

func (l *Light) Off() {
	l.isOn = false
	fmt.Println("Light is OFF")
}

type Fan struct {
	isRunning bool
}

func (f *Fan) Start() {
	f.isRunning = true
	fmt.Println("Fan is RUNNING")
}

func (f *Fan) Stop() {
	f.isRunning = false
	fmt.Println("Fan is STOPPED")
}
These are the receivers — they know how to perform actual work.
Step 3: Concrete Command Implementations
Now we’ll create command structs that wrap these actions.
Each command knows its receiver and implements the Execute() and Undo() methods.
// Light Commands
type LightOnCommand struct {
	light *Light
}

func (c *LightOnCommand) Execute() {
	c.light.On()
}

func (c *LightOnCommand) Undo() {
	c.light.Off()
}

type LightOffCommand struct {
	light *Light
}

func (c *LightOffCommand) Execute() {
	c.light.Off()
}

func (c *LightOffCommand) Undo() {
	c.light.On()
}

// Fan Commands
type FanStartCommand struct {
	fan *Fan
}

func (c *FanStartCommand) Execute() {
	c.fan.Start()
}

func (c *FanStartCommand) Undo() {
	c.fan.Stop()
}

type FanStopCommand struct {
	fan *Fan
}

func (c *FanStopCommand) Execute() {
	c.fan.Stop()
}

func (c *FanStopCommand) Undo() {
	c.fan.Start()
}
Each command object now encapsulates an action and knows how to both do and undo it.
Step 4: The Invoker – The Remote Control
The invoker doesn’t know what commands do. It just calls Execute() and Undo() when buttons are pressed.
type RemoteControl struct {
	history []Command
}

func (r *RemoteControl) PressButton(cmd Command) {
	cmd.Execute()
	r.history = append(r.history, cmd)
}

func (r *RemoteControl) PressUndo() {
	if len(r.history) == 0 {
		fmt.Println("Nothing to undo.")
		return
	}
	last := r.history[len(r.history)-1]
	r.history = r.history[:len(r.history)-1]
	last.Undo()
}
The RemoteControl acts as our Invoker — managing the lifecycle of commands and allowing undo functionality.
Step 5: Putting It All Together
func main() {
	light := &Light{}
	fan := &Fan{}
	remote := &RemoteControl{}

	lightOn := &LightOnCommand{light: light}
	fanStart := &FanStartCommand{fan: fan}
	lightOff := &LightOffCommand{light: light}
	fanStop := &FanStopCommand{fan: fan}

	// Execute some commands
	remote.PressButton(lightOn)
	remote.PressButton(fanStart)
	remote.PressButton(lightOff)
	remote.PressButton(fanStop)

	// Undo last two commands
	remote.PressUndo()
	remote.PressUndo()
}
Why This Pattern Rocks
- Decouples senders from receivers — The remote doesn’t need to know how a device works.
- Easily extendable — Add new devices and commands without touching existing code.
- Undo/Redo ready — Each command tracks its own state.
- Supports macros and batching — You can chain multiple commands together!
Observer Design Pattern
Have you ever subscribed to a YouTube channel or followed someone on Twitter? Whenever they post something new, you instantly get notified. That’s the Observer Pattern in action — one entity (the subject) keeps a list of interested observers and notifies them automatically whenever something changes.
Let’s understand how this works and implement it in Go.
Problem: Manual Notifications Everywhere
Imagine a Weather Station that tracks temperature. We have multiple displays — say, a phone app, a smartwatch, and a billboard — that all need to update whenever the temperature changes.
A naive solution? Call every display’s Update() method manually every time the temperature changes:
func main() {
    temp := 25
    fmt.Println("Temperature updated to", temp)
    phoneApp.Update(temp)
    smartWatch.Update(temp)
    billboard.Update(temp)
}
This is fine at first, but as more observers join, this gets messy. Every time something changes, we must remember to notify everyone manually.
There must be a better way.
Enter the Observer Pattern
The Observer Design Pattern automates the notification process. Whenever the subject (e.g., Weather Station) changes its state, all observers (e.g., display devices) are automatically notified.
Let’s break it down:
Subject — Keeps track of observers and notifies them when something changes.
Observer — Subscribes to the subject and updates itself upon notification.
Step 1: Defining the Interfaces
We’ll start by defining two interfaces: Observer and Subject.
package main

import "fmt"

// Observer defines the interface for all observers
type Observer interface {
	Update(temp int)
}

// Subject defines the interface for the subject being observed
type Subject interface {
	Register(observer Observer)
	Deregister(observer Observer)
	NotifyAll()
}
Explanation:
- Observer has an Update() method that gets called when the subject’s state changes.
- Subject can register, remove, and notify observers.
Step 2: Creating the Concrete Subject (WeatherStation)
type WeatherStation struct {
	observers  []Observer
	temperature int
}

// Register adds an observer to the list
func (w *WeatherStation) Register(o Observer) {
	w.observers = append(w.observers, o)
}

// Deregister removes an observer from the list
func (w *WeatherStation) Deregister(o Observer) {
	for i, observer := range w.observers {
		if observer == o {
			w.observers = append(w.observers[:i], w.observers[i+1:]...)
			break
		}
	}
}

// NotifyAll notifies all observers of a state change
func (w *WeatherStation) NotifyAll() {
	for _, observer := range w.observers {
		observer.Update(w.temperature)
	}
}

// SetTemperature updates the temperature and notifies observers
func (w *WeatherStation) SetTemperature(temp int) {
	fmt.Println("\nWeatherStation: temperature changed to", temp)
	w.temperature = temp
	w.NotifyAll()
}
Explanation:
When the temperature changes, the station calls NotifyAll(), which loops through all observers and calls their Update() method.
Step 3: Creating Concrete Observers
Now, let’s create a few displays that observe the weather station.
// PhoneDisplay is a concrete observer
type PhoneDisplay struct {
	name string
}

func (p *PhoneDisplay) Update(temp int) {
	fmt.Printf("%s received update: Temperature is now %d°C\n", p.name, temp)
}

// SmartWatchDisplay is another concrete observer
type SmartWatchDisplay struct {
	name string
}

func (s *SmartWatchDisplay) Update(temp int) {
	fmt.Printf("%s buzzes: New temperature is %d°C\n", s.name, temp)
}
Explanation:
Both PhoneDisplay and SmartWatchDisplay implement the Observer interface. They each define how they react to updates differently — one prints a message, another vibrates.
Step 4: Putting It All Together
Let’s set up the system in main().
func main() {
	// Create the subject
	weatherStation := &WeatherStation{}

	// Create observers
	phone := &PhoneDisplay{name: "Phone App"}
	watch := &SmartWatchDisplay{name: "Smart Watch"}

	// Register observers
	weatherStation.Register(phone)
	weatherStation.Register(watch)

	// Simulate temperature updates
	weatherStation.SetTemperature(25)
	weatherStation.SetTemperature(30)

	// Deregister one observer
	weatherStation.Deregister(watch)
	fmt.Println("\nSmart Watch unsubscribed.")

	// Another update
	weatherStation.SetTemperature(35)
}
What Just Happened?
Here’s the flow:
- Observers register themselves with the subject.
- The subject’s state (temperature) changes.
- The subject automatically notifies all observers.
- Observers react to the change in their own way.
This decouples the subject (weather station) from the observers (displays). You can add or remove observers anytime — no code change in the subject required.
Advantages of the Observer Pattern
Loose Coupling: The subject doesn’t care who’s listening — it just broadcasts updates.
Dynamic Subscriptions: Observers can join or leave at runtime.
Scalability: Add more observers easily without modifying existing code.
Reusability: Both subject and observer components can be reused in different contexts.
Real-World Uses
- Event-driven systems
- Notification or logging systems
- GUI frameworks (button click listeners)
- Pub/Sub architectures
Wrap-Up
The Observer Pattern is like the notification system of your application — simple, scalable, and effective. It decouples your components while keeping everything in sync, like a well-orchestrated broadcast system.
So the next time your app needs a “Hey, something just changed!” feature, you know which pattern to call.
Template Method Design Pattern
Imagine two chefs cooking pasta. One uses basil and parmesan, the other uses chili and garlic — but both follow the same overall recipe: boil pasta, prepare sauce, mix, and serve.
That’s the Template Method Design Pattern in action.
It defines the skeleton of an algorithm in a method, allowing subclasses (or concrete types) to redefine certain steps without changing the overall flow.
The Core Idea
The Template Method Pattern lets you define a general process (the “template”) and delegate specific steps to subtypes. This keeps the shared logic centralized while allowing variation in behavior.
In Go, since there’s no inheritance, we can achieve this behavior using interfaces and composition.
Step 1: Define the Template (Base Structure)
Let’s build a program for preparing beverages — both Tea and Coffee. They share the same process:
- Boil water
- Brew beverage
- Pour into cup
- Add condiments
But the brewing and condiments differ for each drink.
Here’s our template:
package main

import "fmt"

// Beverage defines the steps every drink must follow
type Beverage interface {
	BoilWater()
	Brew()
	PourInCup()
	AddCondiments()
}

// Template struct to hold the beverage
type CaffeineBeverage struct {
	beverage Beverage
}

// PrepareRecipe defines the overall process (the template)
func (c *CaffeineBeverage) PrepareRecipe() {
	c.beverage.BoilWater()
	c.beverage.Brew()
	c.beverage.PourInCup()
	c.beverage.AddCondiments()
}
Explanation:
- Beverage defines all steps of the process.
- CaffeineBeverage implements the template method PrepareRecipe() — the algorithm skeleton.
- The concrete beverage (like Tea or Coffee) plugs in its specific behavior.
Step 2: Concrete Implementations
Let’s define two drinks that share the same steps but differ in how they perform them.
// Tea implements the Beverage interface
type Tea struct{}

func (t *Tea) BoilWater() {
	fmt.Println("Boiling water for tea...")
}

func (t *Tea) Brew() {
	fmt.Println("Steeping the tea leaves...")
}

func (t *Tea) PourInCup() {
	fmt.Println("Pouring tea into cup...")
}

func (t *Tea) AddCondiments() {
	fmt.Println("Adding lemon...")
}

// Coffee implements the Beverage interface
type Coffee struct{}

func (c *Coffee) BoilWater() {
	fmt.Println("Boiling water for coffee...")
}

func (c *Coffee) Brew() {
	fmt.Println("Dripping coffee through filter...")
}

func (c *Coffee) PourInCup() {
	fmt.Println("Pouring coffee into cup...")
}

func (c *Coffee) AddCondiments() {
	fmt.Println("Adding sugar and milk...")
}
Step 3: Putting It All Together
Let’s run the recipe for both beverages.
func main() {
	fmt.Println("Making Tea:")
	tea := &Tea{}
	teaMaker := &CaffeineBeverage{beverage: tea}
	teaMaker.PrepareRecipe()

	fmt.Println("\nMaking Coffee:")
	coffee := &Coffee{}
	coffeeMaker := &CaffeineBeverage{beverage: coffee}
	coffeeMaker.PrepareRecipe()
}
Follow-Up: Adding Hooks for Flexibility
Sometimes, you might want to make some steps optional. For instance, the user can choose whether to add condiments.
We can achieve that using a hook — a method that subclasses can override to change the behavior.
// BeverageWithHook adds a hook for condiments
type BeverageWithHook interface {
	Beverage
	WantsCondiments() bool
}

type CaffeineBeverageWithHook struct {
	beverage BeverageWithHook
}

func (c *CaffeineBeverageWithHook) PrepareRecipe() {
	c.beverage.BoilWater()
	c.beverage.Brew()
	c.beverage.PourInCup()
	if c.beverage.WantsCondiments() {
		c.beverage.AddCondiments()
	}
}
Now, let’s modify Tea to include the hook:
type TeaWithHook struct {
	addCondiments bool
}

func (t *TeaWithHook) BoilWater()      { fmt.Println("Boiling water for tea...") }
func (t *TeaWithHook) Brew()           { fmt.Println("Steeping the tea leaves...") }
func (t *TeaWithHook) PourInCup()      { fmt.Println("Pouring tea into cup...") }
func (t *TeaWithHook) AddCondiments()  { fmt.Println("Adding lemon...") }
func (t *TeaWithHook) WantsCondiments() bool { return t.addCondiments }
Test it:
func main() {
	tea := &TeaWithHook{addCondiments: false}
	teaMaker := &CaffeineBeverageWithHook{beverage: tea}
	fmt.Println("Making Tea with hook (no condiments):")
	teaMaker.PrepareRecipe()
}
Why Use the Template Method Pattern?
Reuse and Consistency
Common logic lives in one place — PrepareRecipe() — so you avoid duplication.
Extensibility
You can easily create new variations (like “GreenTea” or “Espresso”) without changing existing code.
Enforces a Defined Process
It ensures that the steps happen in a specific order, every single time.
Adds Controlled Customization
Hooks give flexibility to subclasses without breaking the core algorithm.
Real-World Analogy
Think of it like a cooking recipe in a cooking class. The instructor (template) dictates the overall sequence — “Boil, Cook, Serve.” Each student (concrete class) personalizes it with their own ingredients or spices — but they still follow the same flow.
To wrap it up
The Template Method Pattern is perfect when:
- You have a set of similar operations that share the same workflow.
- You want to enforce consistency but allow variation in specific steps.
It’s widely used in frameworks, libraries, and even Go applications where a core logic must remain stable, but the details can vary — like processing pipelines, parsers, and report generators.
TLDR;
| Pattern | Purpose (in short) |
|---|---|
| Chain of Responsibility | Passes a request along a chain of handlers until one processes it. |
| Command | Encapsulates a request as an object, allowing undo/redo and flexible execution. |
| Iterator | Provides a way to sequentially access elements of a collection without exposing its structure. |
| Mediator | Centralizes communication between multiple objects to reduce direct dependencies. |
| Memento | Captures and restores an object’s internal state without exposing its details. |
| Observer | Notifies dependent objects automatically when the subject’s state changes. |
| State | Lets an object change its behavior when its internal state changes. |
| Strategy | Defines a family of algorithms and makes them interchangeable at runtime. |
| Template Method | Defines the skeleton of an algorithm and lets subclasses redefine certain steps. |
| Visitor | Adds new operations to existing object structures without modifying them. |
Next in the series, we’ll look into Structural Design Patterns.